Rakhi, also known as Raksha Bandhan, is a special festival that celebrates the bond between siblings. It is a time when sisters tie a sacred thread called Rakhi around their brothers’ wrists, symbolizing their love and protection. While you can easily find beautiful Rakhis in the market, making a Rakhi at home adds a personal touch and brings out your creativity. In this article, we will guide you on how to make a Rakhi at home, allowing you to create a unique and meaningful symbol of love for your brother.
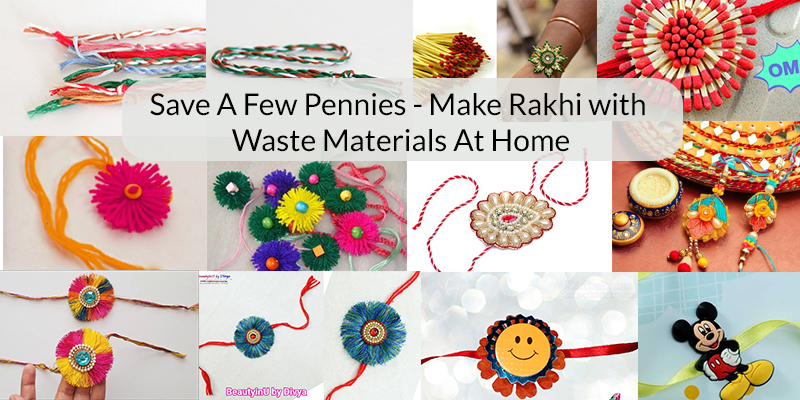
Table of Contents
Introduction to Rakhi
Rakhi is a traditional Indian festival that celebrates the bond between brothers and sisters. It is a symbol of love, protection, and the lifelong commitment between siblings. While the festival is traditionally observed with store-bought Rakhis, making a Rakhi at home allows you to infuse your creativity and make the occasion more personalized.
Materials Needed
Before we dive into the process of making a Rakhi, let’s gather the materials you’ll need:
- A base (can be a piece of felt, cardboard, or fabric)
- Decorative elements (such as beads, sequins, ribbons, or threads)
- Glue
- Scissors
- Thread (for tying the Rakhi)
Step-by-Step Guide to Making a Rakhi
Follow these steps to create your homemade Rakhi:
3.1 Choose Your Design
Decide on the design and style of Rakhi you want to make. You can go for a simple and elegant design or get creative with various decorative elements.
3.2 Gather the Materials
Collect all the materials you’ll need, ensuring you have everything at hand before you start. This will make the process smoother and more enjoyable.
3.3 Prepare the Base
Take the base material (felt, cardboard, or fabric) and cut it into a suitable size and shape for your Rakhi. You can opt for a circular, rectangular, or any other shape that appeals to you.
3.4 Add Decorative Elements
This is where you can let your creativity shine. Use beads, sequins, ribbons, or threads to decorate the base. Arrange them in a pattern or design that represents your personal style.
3.5 Attach the Thread
Once you’ve decorated the base, attach a thread to one end. Make sure it is long enough to tie around your brother’s wrist comfortably. You can use a matching thread or opt for a contrasting color to add visual interest.
Ideas for Homemade Rakhis
Here are some ideas to inspire your homemade Rakhi designs:
4.1 Beaded Rakhi
String colorful beads onto a thread or wire, creating a beautiful pattern. You can add a central motif or charm to enhance the design.
4.2 Silk Thread Rakhi
Wrap vibrant silk threads around a base, creating intricate patterns or tassels. Combine different colors to make a visually appealing Rakhi.
4.3 Quilling Rakhi
Use quilling paper strips to create delicate and intricate designs. Roll the paper strips and shape them into various patterns, securing them to the base.
4.4 Embroidered Rakhi
Embroider intricate designs using colorful threads on a fabric base. You can incorporate motifs, initials, or meaningful symbols.
Tips and Tricks
- Plan your design before you start. Sketch it out or visualize it to ensure you have a clear idea of what you want to create.
- Experiment with different materials and techniques to make your Rakhi unique and special.
- Personalize the Rakhi by incorporating elements that hold significance for you and your brother.
- Pay attention to the size and comfort of the Rakhi. It should fit comfortably around your brother’s wrist.
Conclusion
Making a Rakhi at home is a wonderful way to add a personal touch and express your creativity. By following the step-by-step guide and exploring different design ideas, you can create a unique and meaningful Rakhi for your brother. Celebrate Raksha Bandhan with love, affection, and a homemade Rakhi that symbolizes the bond between siblings.